Create Gitspaces
This document will guide you to understand in detail on how to create a new Gitspace. Follow the instructions below to start creating a new Gitspace.
Select Your Deployment Model
Based on the deployment model you choose - Harness Hosted or Self Hosted - you can proceed accordingly with this tutorial.
1️⃣ Harness Hosted
For Harness Hosted Gitspaces, no infrastructure configuration is required. All you need is your source code repository link and Gitspace details. Read more about Harness Hosted Gitspaces.
🔗 Follow the instructions here to create a new Gitspace: Creating Gitspaces.
2️⃣ Self Hosted
For Self Hosted Gitspaces, you need to ensure your infrastructure is configured and set up beforehand. Read more about Self Hosted Gitspaces. All the configuration steps are mandatory before creating any Self Hosted Gitspace.
🔗 Follow the instructions here to configure Self Hosted Gitspaces: Get Started with Self Hosted Gitspaces
Select Your Git Provider
Depending on the Git provider you choose - Cloud Provider or On-Prem - you can proceed accordingly with this tutorial.
1️⃣ Cloud Git Providers
Gitspaces allow you to configure your preferred cloud Git provider for seamless development. This enables you to create a Gitspace directly from your project repository (public or private) hosted on your chosen Git provider. If you plan to use any of the following Cloud Git Providers, you must configure them beforehand:
- Harness Code
- GitHub Cloud
- GitLab Cloud
- Bitbucket Cloud
- Any Public Git Repository
🔗 Follow the instructions here to configure OAuth for these providers: Get Started with Cloud Git Providers
2️⃣ On-Prem Git Providers
You can configure On-Prem Git Providers to launch Gitspaces for source code repositories hosted within your own infrastructure. This provides an added layer of security and control over your source code and metadata, ensuring that your data never leaves your servers. If you plan to use any of the following On-Prem Git Providers, you must configure them beforehand:
🔗 Follow the instructions here to configure On-Prem Git Providers: Get Started with On-Prem Git Providers.
Create Gitspaces
Follow the instructions below to create a new Gitspace, based on your deployment model:
Harness Hosted Gitspaces
-
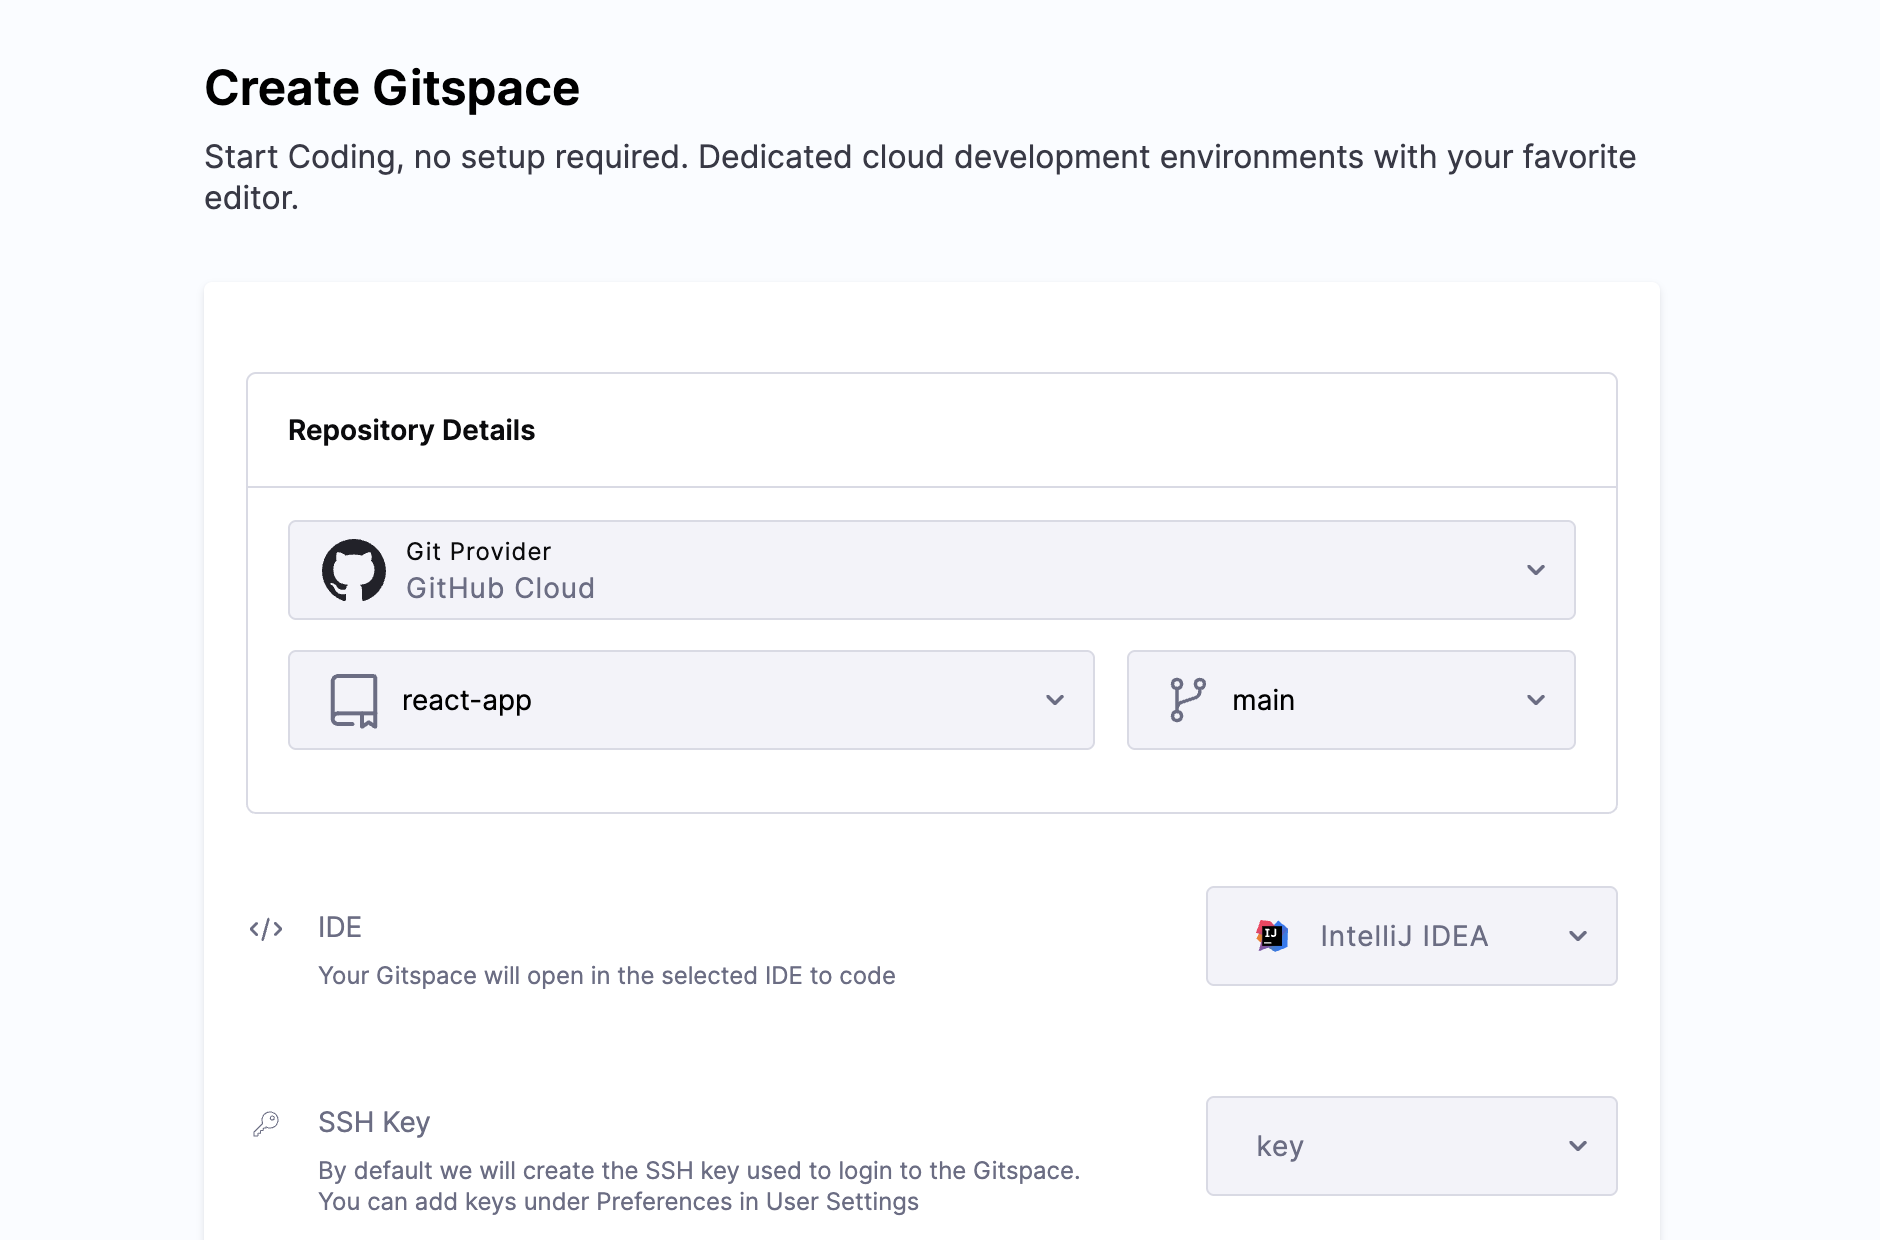
Open the Harness UI and go to Gitspaces from the left sidebar.
-
Git Provider: Select your Git Provider as configured above with the prerequisites.
-
Repository URL: Enter your Git Repository URL:
- For cloud providers: use the public repository URL or your fork (use the full HTTPS format:
https://git-provider.com/org/repo). - For on-prem providers: provide the internal repository URL.
- For cloud providers: use the public repository URL or your fork (use the full HTTPS format:
-
Branch: Enter a branch name, or use the default
main. -
IDE: Select your preferred IDE (e.g., VS Code Desktop). Check IDE prerequisites beforehand.
-
SSH Key: Required for all IDEs except browser-based ones. Refer to the SSH key setup guide.
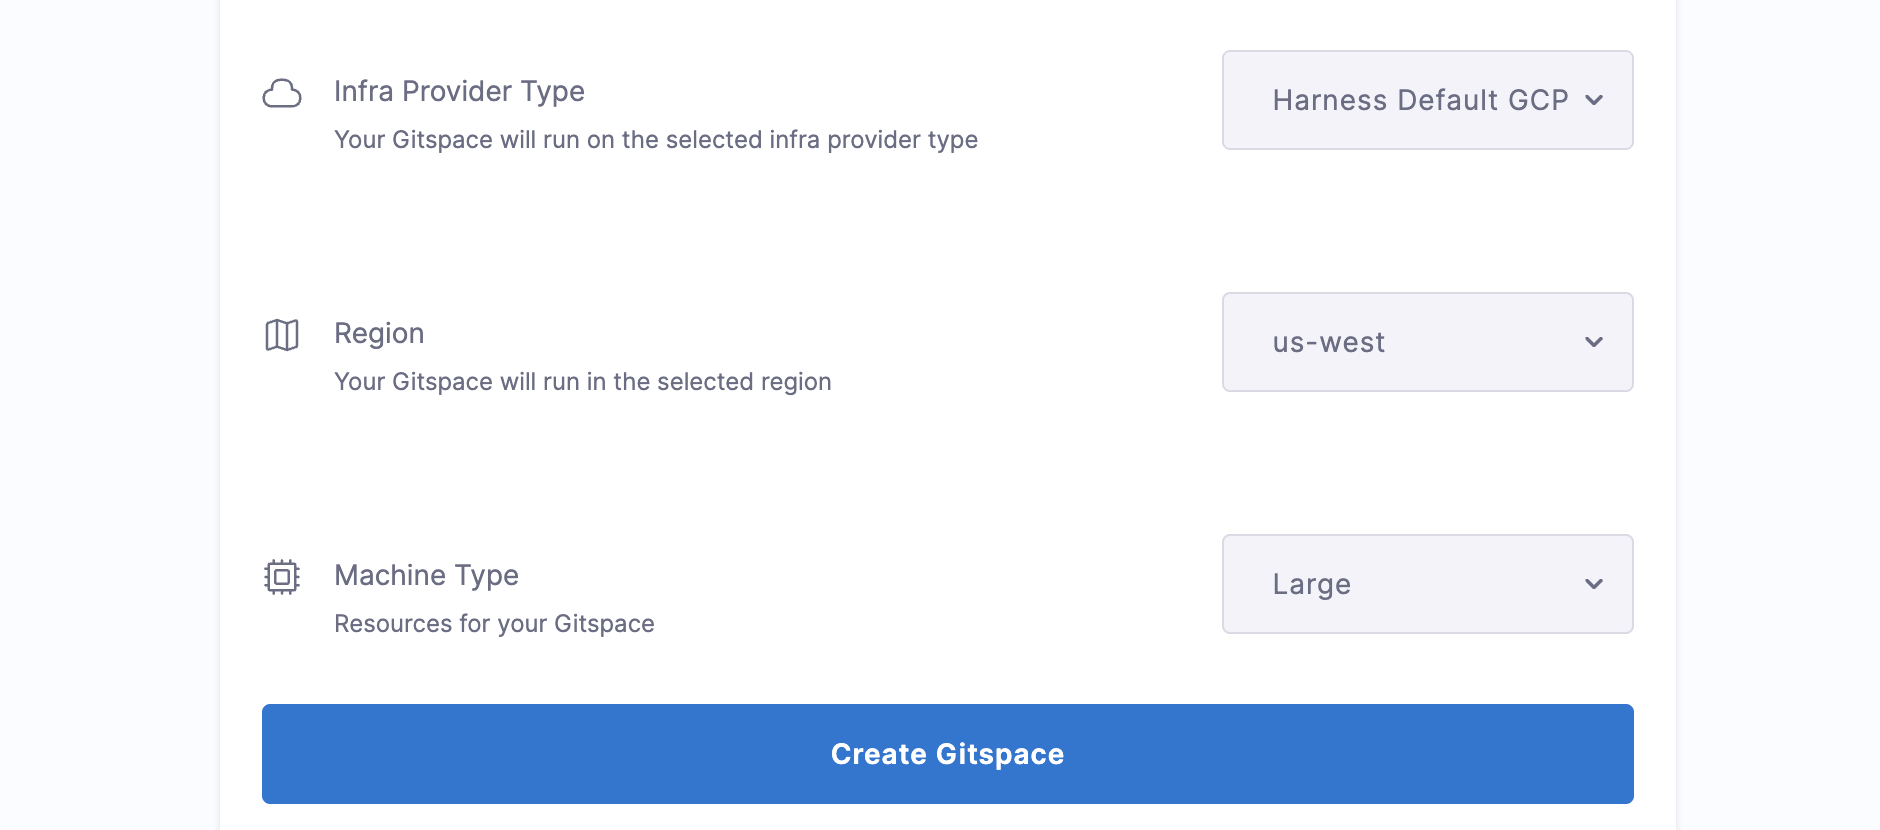
-
Infra Provider Type: Select Harness Default GCP Provider.
-
Region: Choose from pre-defined regions (see supported regions).
-
Machine Type: Choose from available machine types (see supported machines).
-
Click Create Gitspace.
Self Hosted Gitspaces
-
Open the Harness UI and go to Gitspaces from the left sidebar.
-
Git Provider: Select your Git Provider as configured above with the prerequisites.
-
Repository URL: Repository URL: Enter your Git Repository URL:
- For cloud providers: use the public repository URL or your fork (use the full HTTPS format:
https://git-provider.com/org/repo). - For on-prem providers: provide the internal repository URL.
- For cloud providers: use the public repository URL or your fork (use the full HTTPS format:
-
Branch: Enter a branch name, or use the default
main. -
IDE: Select your preferred IDE (e.g., VS Code Desktop). Check IDE prerequisites beforehand.
-
SSH Key: Required for all IDEs except browser-based ones. Refer to the SSH key setup guide.
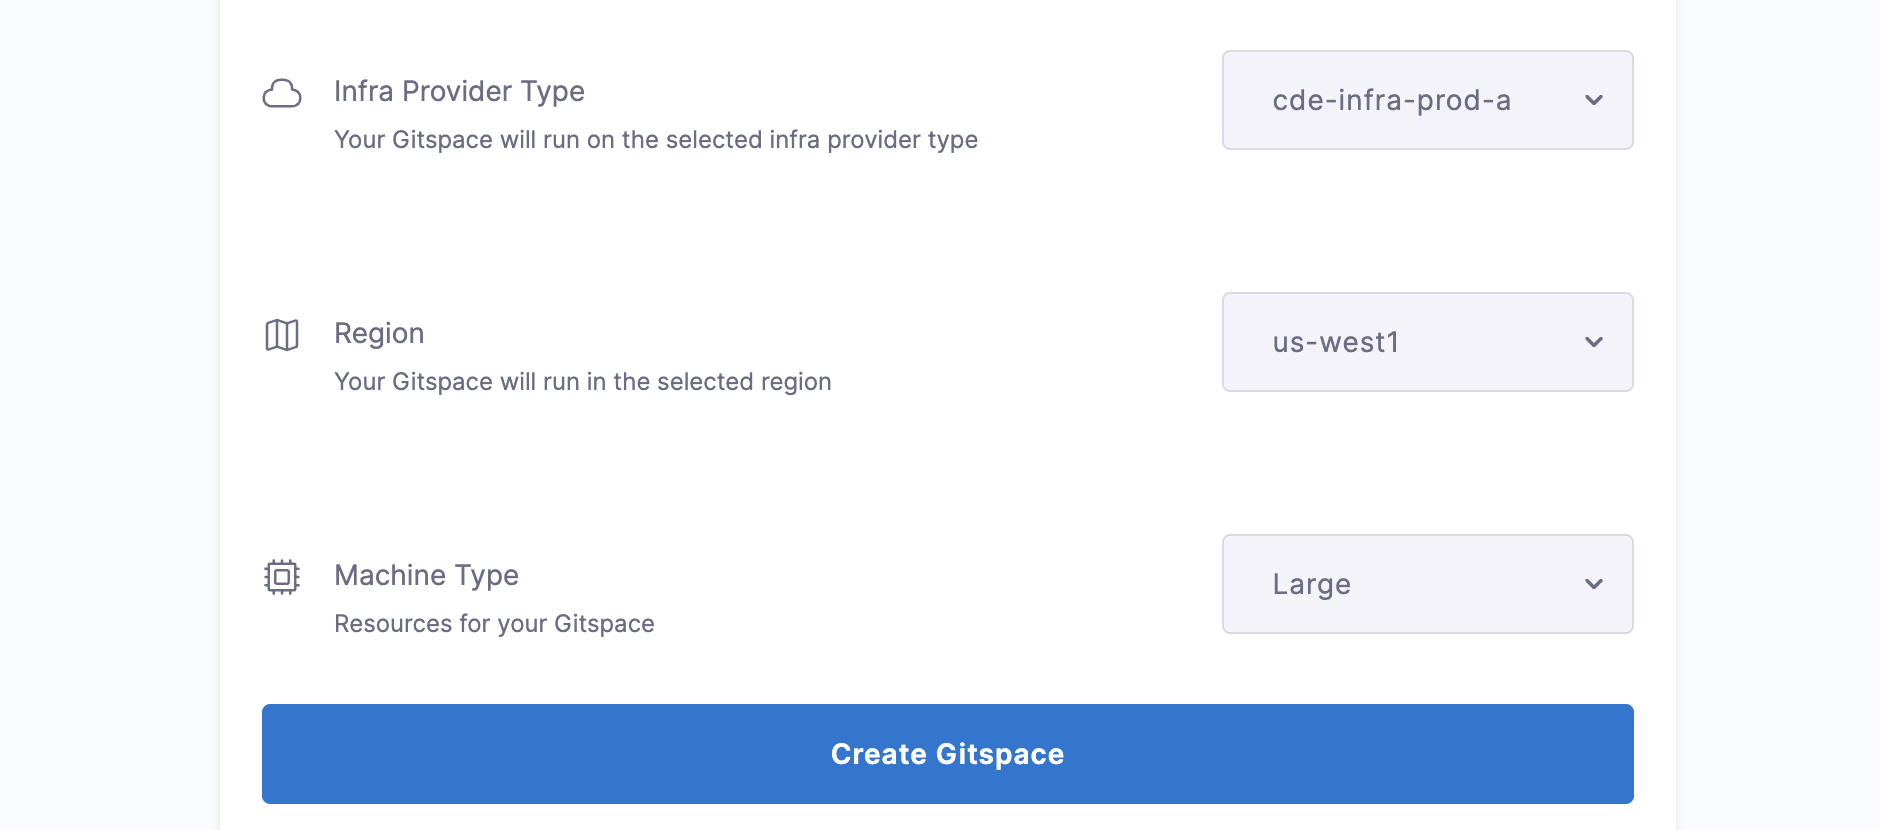
-
Infra Provider Type: Select your previously configured Self-Hosted infrastructure.
-
Region: Select from your configured list of regions (see how to configure regions in self hosted).
-
Machine Type: Choose from the machine types configured in your infrastructure (see how to configure machine types in self hosted).
-
Click Create Gitspace.
Once your Gitspace is active, you're ready to begin development!